Deploying Services on the Platform
The deployment feature on our platform allows providers and customers to initiate the deployment of various services, such as Microsoft 365 Backup. This process involves selecting the target account, choosing the service to deploy, providing necessary credentials, and ultimately creating new resources under the chosen account.
This documentation provides an overview of the deployment process on our platform, using Microsoft 365 Exchange Mailbox Backup as a specific example. It also includes technical details about Azure application access to ensure understanding of the process for our users.

General Deployment Process
The deployment process is designed to follow a standardized procedure. Each service that supports deployment can do so based on a deployment specification. This means that the options you encounter during a deployment may vary depending on the specific needs of the service.
Steps to deploy a service as a Provider
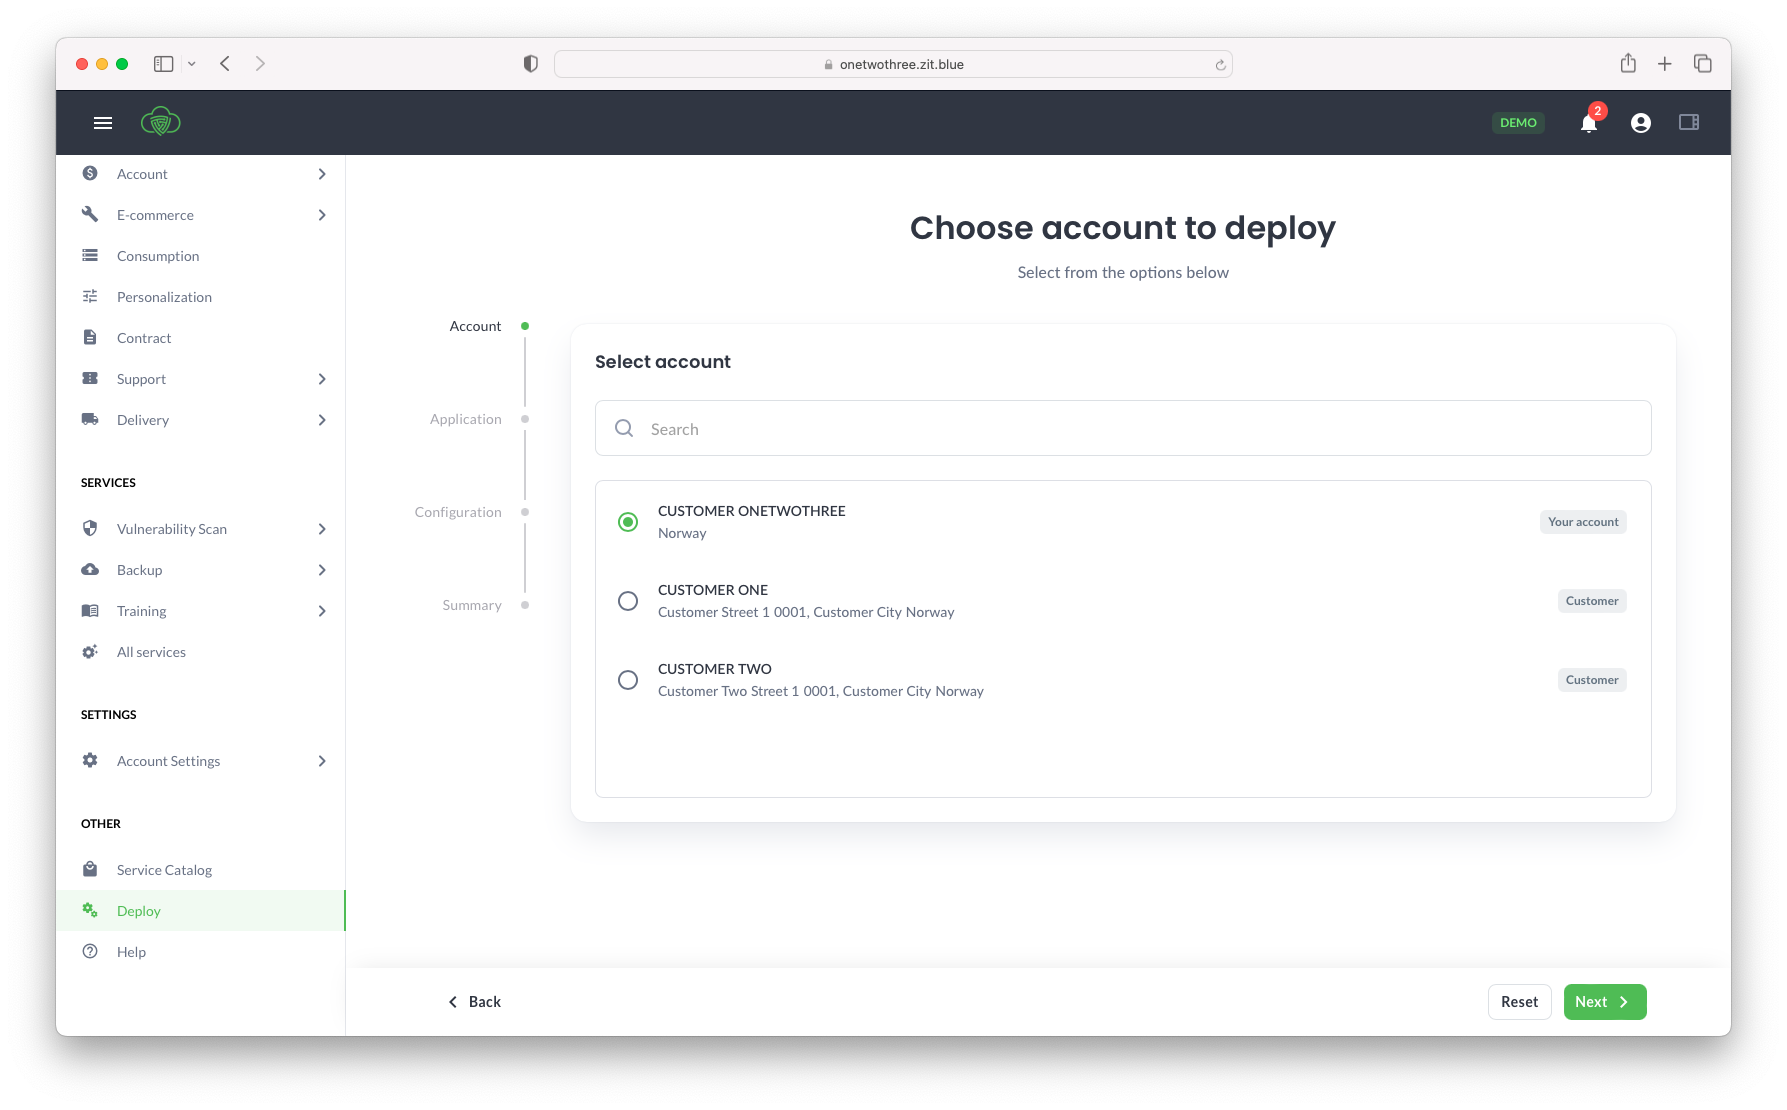
- Navigate to the Deploy menu to initiate the deployment process.
- In the Select account step, choose the desired account or customer for deployment, and then click Next.
This step is exclusive to providers who have access to multiple accounts. You can also opt for yourself.
- Choose the specific service(s) you wish to deploy and proceed by clicking Next.
- Depending on the service you've selected, provide the necessary information required for deployment, and then click Next.
This step may be broken down into multiple stages, depending on what you're deploying. Refer to the examples below for more detailed information.
- Once the deployment process is finished, we will generate new resources or configurations based on the selected service.
Deployment for example services
Steps to deploy a Target in Vulnerability Scan service
- Go to the Deploy menu to start the deployment process.
- When you reach the Select account step, choose the customer you wish to use for deployment, and then click Next.
- Select Vulnerability Scan and proceed by clicking Next.
- Provide the necessary information required for deployment:
- Specify a user-friendly name for the target application to simplify management.
- Enter the URL of the website you want to scan.
- To continue, click Next.
- Once the deployment process is complete, a new Target for the Vulnerability Scan service will be generated.
Steps to deploy a Microsoft Exchange Online backup
- Head over to the Deploy menu to kickstart the deployment process.
- In the Select account step, choose the customer you plan to use for deployment, and then hit Next.
- Opt for Exchange Online and continue by clicking Next.
- Provide the necessary information for deployment:
- For Azure Configuration, you can specify an application name to help Azure find a related application more easily. If you prefer, you can use the default name.
- You'll also need to log in to your Microsoft account associated with the mailbox you want to back up.
- Consent Access for Azure Application: To enable the backup process, grant access to an Azure application. This application requires access to perform the backup operation securely.
- To proceed, simply click Next.
- Once the deployment process is completed, a new Target will be generated for the Exchange Online service.