Products
Products are the core components of your ZaveIT Platform, representing the goods and services you sell. You can add products by manually entering details and uploading product images or by importing them from external systems.
If your product requires additional information from the customer or needs integration with external systems, you can configure these settings directly within the product.
If the same product is available from several distributors, Distributor Mode can be used to manage one product listing with multiple distributor options behind it.
Creating a New Product
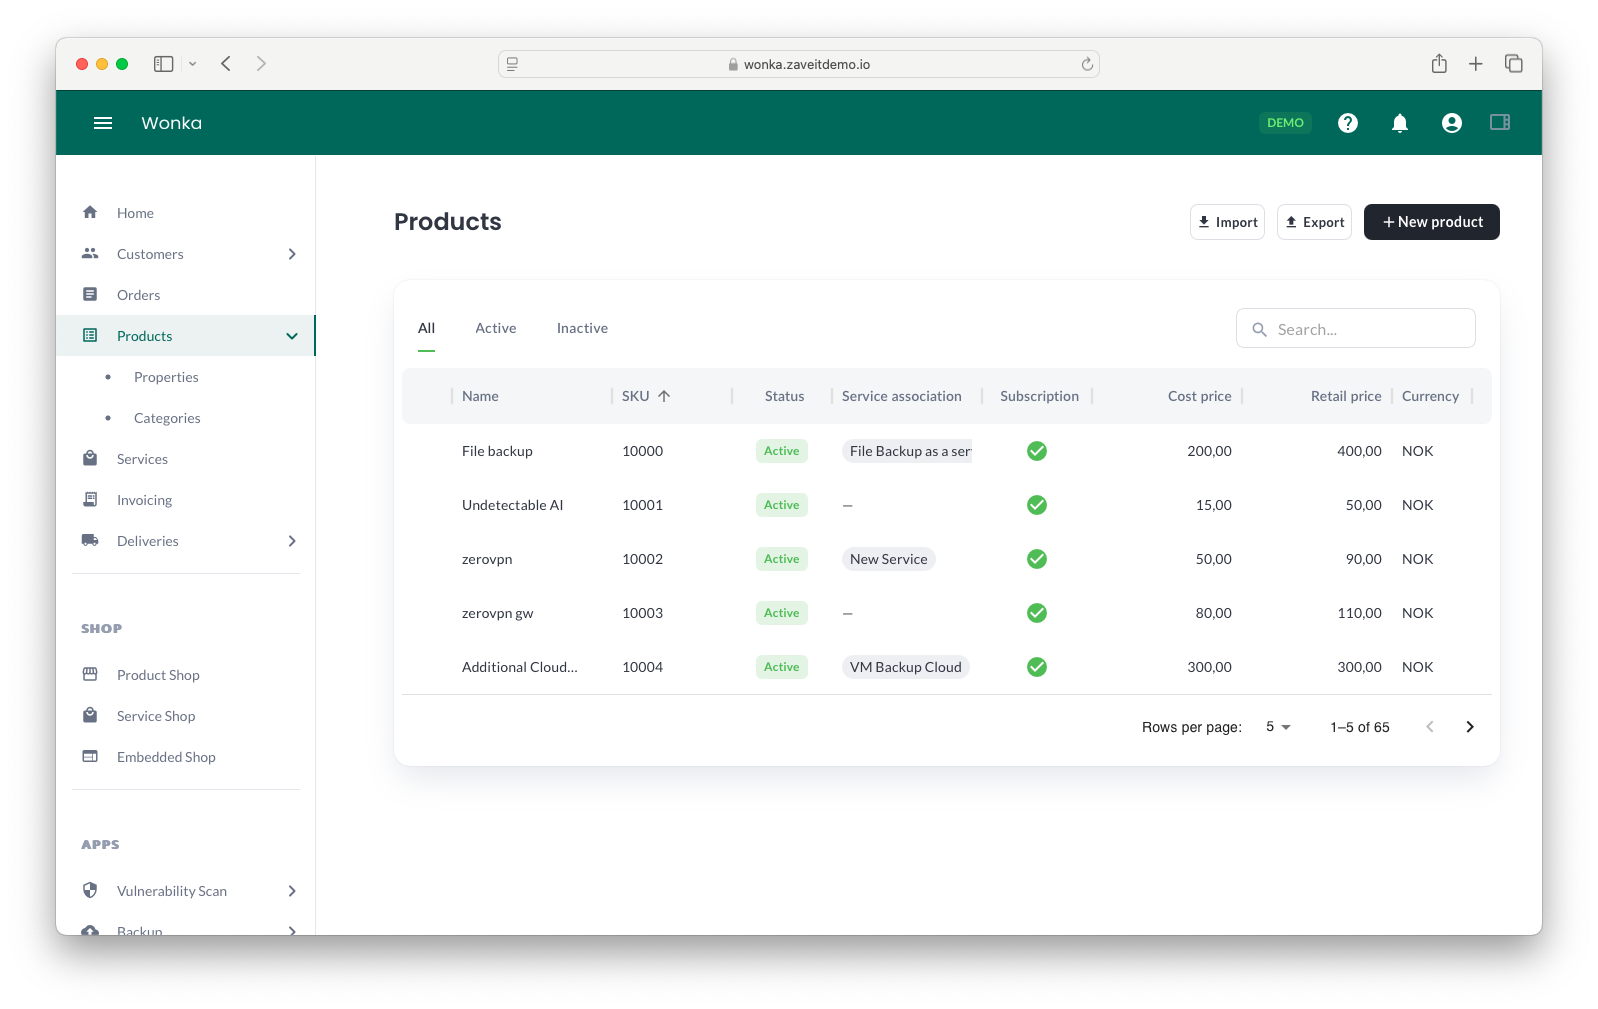
To create a new product, click the + New Product button and fill out the required fields. Below are the steps involved.
Steps to Create a New Product
- Navigate to the Products tab and click New Product.
- Enter Name, SKU (product number), and Description.
- Under Product settings, configure:
- Active (enable/disable product availability).
- Subscription (enable if the product is subscription-based).
- Define pricing details:
- Billing cycle, Min/Max quantity, Cost price, Retail price.
- Configure Custom Fields if the product requires additional user input (optional).
- Select necessary built-in features under the Features tab.
- Under Advanced Settings, configure:
- Regional settings.
- Input types.
- Integration settings.
- Management URLs.
- Consumption tracking (if applicable).
- Click Save Changes to finalize product creation.
The new product will now appear in your Products list.
For detailed explanations of each tab in the product creation and editing modal, refer to the sub-pages of this section.
Distributor Mode
Use Distributor Mode when the same product is available from multiple distributors and should appear as one product in the WebShop. Distributor Mode helps keep the product catalog clean while preserving distributor-specific stock, price, and SKU information.
Product Specifications
Use Product Specifications through 1WorldSync to automatically enrich your products with manufacturer images and detailed specifications. Set the Vendor and Vendor SKU on each product, and ZaveIT will pull the matching content into the WebShop and Custom Pages.
Managing Products
In addition to creating products, you can edit, clone, and delete them.
Editing a Product
- Navigate to the Products tab and locate the product in the table.
- Click on the product to open the Edit Product modal.
- Modify the desired settings.
- Click Save Changes.
Your product is now updated.
Cloning a Product
- Locate the product you want to duplicate in the Products tab.
- Click on the three-dot context menu (⋮) on the right and select Clone.
- A new product modal will appear with pre-filled settings from the source product.
- Modify the necessary details (such as SKU and Name).
- Click Save Changes.
The cloned product will now appear in the product list.
The cloned product must have a unique name and SKU.
Deleting a Product
- Locate the product in the Products tab.
- Click on the three-dot context menu (⋮) and select Delete.
The product will be removed from your product list.
A product cannot be deleted if it is currently associated with a service. To delete such a product, first remove its association with any services under the Service Association column in the product list.