Importing From CSV
The Import Wizard allows you to bulk import products from a CSV file, ensuring efficient product management. This guide walks you through the import process step by step.
Required and Optional Fields
Before starting, ensure your CSV file is formatted correctly. The required fields must be included, while optional fields provide additional details.
Required Fields
- Name – Product name
- Price – Retail price
- Matching Field – Depends on selected "matching field", related field will be required for import. Can be SKU, Vendor SKU, EAN or Name
Optional Fields
- SKU - Stock-Keeping Unit (required, when selected as matching field)
- EAN – European Article Number (required, when selected as matching field)
- Vendor SKU – SKU provided by the vendor (required, when selected as matching field)
- Vendor – Name of the vendor
- Distributor – Distributor connected to the product row
- Distributor SKU – SKU provided by the distributor
- Stock – Current stock quantity
- Stock Status – Availability status (e.g., "In Stock," "Out of Stock")
- Media (Image) Link – URL to the product image
- Description – Full product description
- Short Description – Brief summary of the product
- Cost Price – The price you pay for the product
- Categories – Assigned categories for product organization
Recommended CSV Format
- We recommend using semicolon-separated values (;) as the delimiter.
- Why? Commas (
,) can appear in product descriptions, categories, and other fields, which may cause issues during import.
Steps to Import Products
1. Start the Import Process
- Navigate to the Products section.
- Click Import in the top-right corner.
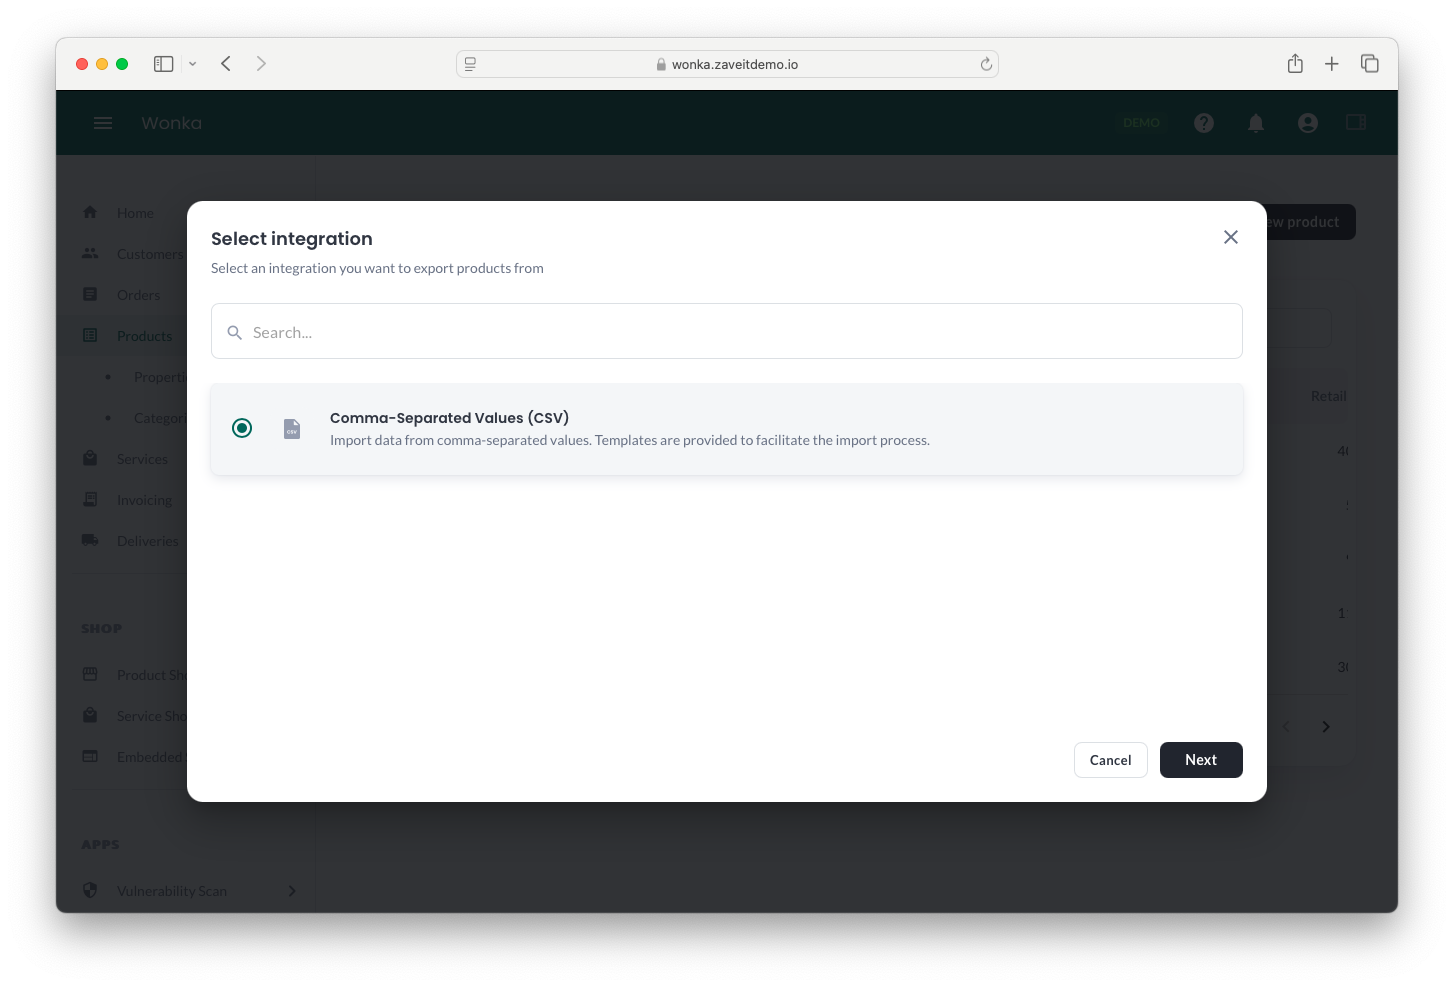
2. Select Data Source
- Choose Comma-Separated Values (CSV) as the import format.
- Click Next.
3. Upload the CSV File
- Drag and drop your CSV file into the upload area or click Browse to select a file.
- Click Next after the file is uploaded.
4. Select an Import Profile (Optional)
- If you have previously saved an import profile, you can select it.
- Otherwise, click Skip to proceed with manual field mapping.
5. Map Fields
- The system will attempt to match CSV fields with product fields automatically.
- If needed, manually map the fields by selecting the appropriate values.
- Click Next to continue.
If your CSV file includes the manufacturer name and the manufacturer SKU, map them to Vendor and Vendor SKU during this step. ZaveIT then uses those fields to fetch manufacturer images and detailed specifications automatically. See Product Specifications through 1WorldSync.
If you import data without your own SKU, platform will generate SKUs for each product. To make sure that import works well, choose relevant matching field (e.g. Vendor SKU).
When importing product from distributors, we recommend to use Vendor SKU as matching field
6. Property Mapping (Optional)
- If your CSV includes product properties, you can map them here.
- Select the correct property key and assign the corresponding values.
- Click Next to continue.
7. Final Review and Import
- Import To: Choose where to import the products, such as Shop or Marketplace.
- Settings:
- Enable Products will be active after import if you want them available immediately.
- Enable Products are subscription products if applicable.
- Enable Products will be in distributor mode if applicable. (read more about distributor mode here)
- Import Profile:
- You can save the mapping settings as an import profile for future use.
- If an existing profile name is used, it will overwrite the previous settings.
- Click Import to finalize the process.
Importing Distributor Products
If the same product is available from multiple distributors, you can use Distributor Mode during import to group matching products into one product with several distributor options.
See Importing Distributor Products for more information.
Processing Time
- The import process can take some time depending on the number of products being uploaded.
- A "Completed" message will appear when the import is successfully finished.