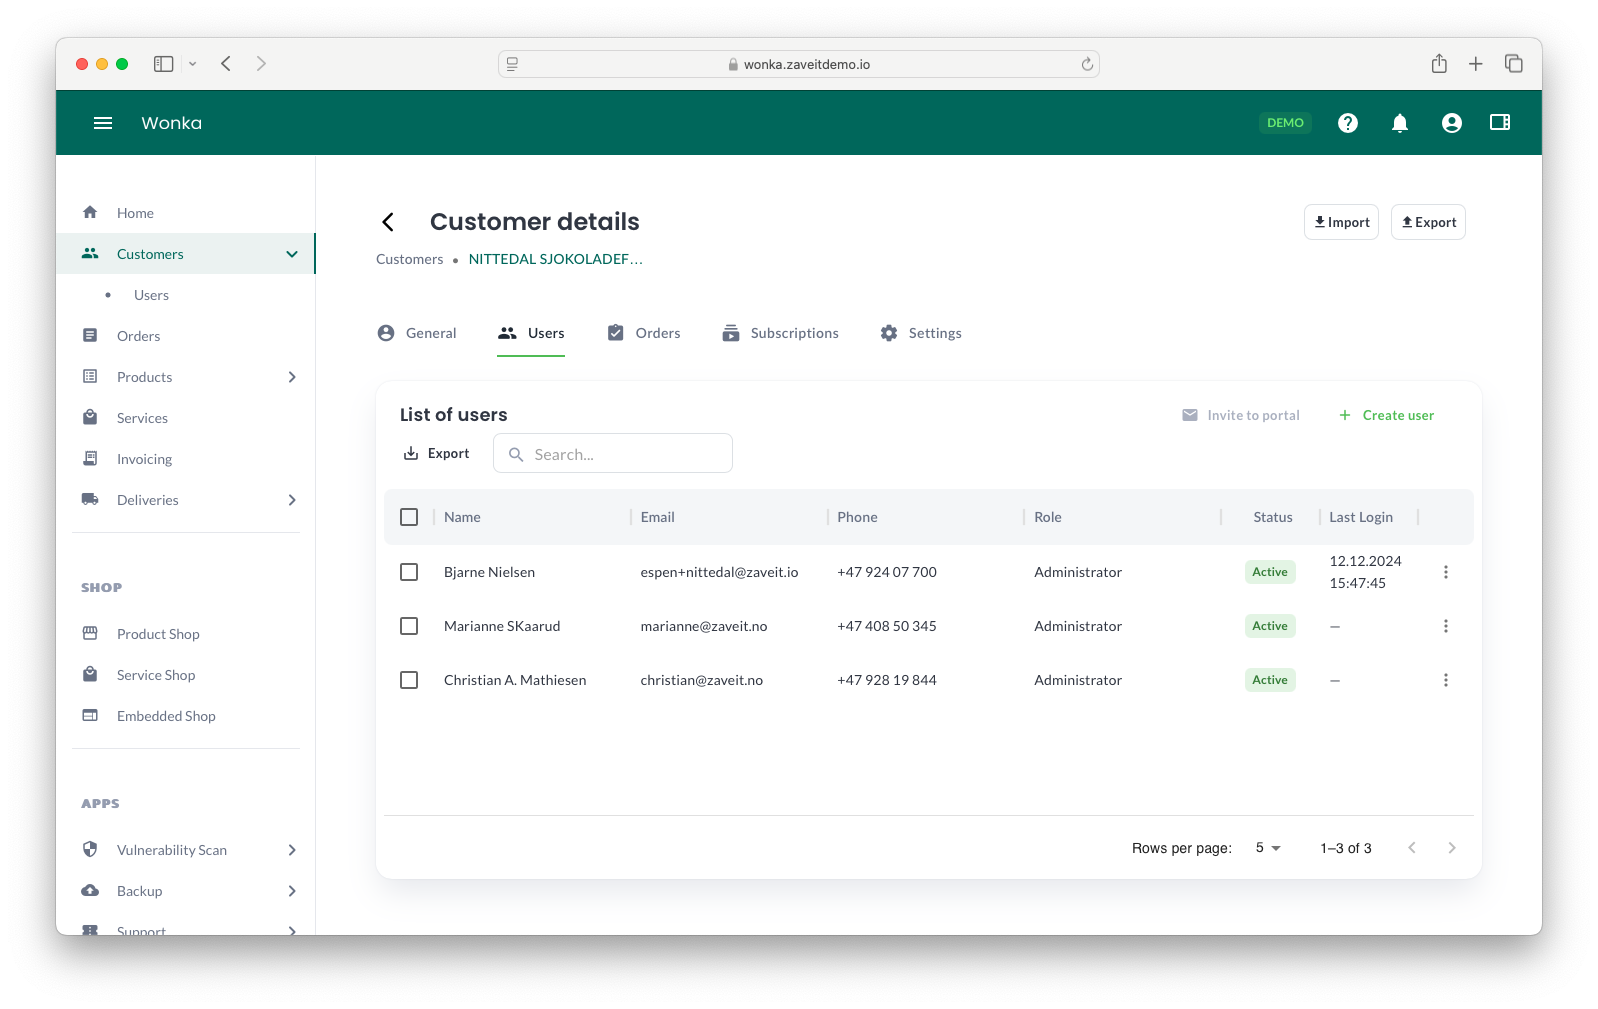
Users
The Users tab within the customer account card provides a list of all individuals associated with the account.
Users can search, filter, and sort the user list to easily find and manage specific users.
This structured approach offers a convenient and efficient way to organize account members.
Creating a New User
When creating a new user through the Users tab, the user will be linked specifically to the selected customer account.
Steps to Create a New User
- Click the Create user button in the upper-right corner of the user table.
- Enter the required user details, including:
- First Name
- Last Name
- Email (Username)
- Phone Number
- Select a Role from the dropdown menu.
- Set the user's Status as Active or Inactive.
- Click Create to finalize the user creation.
The new user will now appear in the Users list.
Modifying an Existing User
You can edit user details directly from the Users tab within the account card. This allows you to update information such as name, username, phone number, role, and status, as well as adjust authentication settings.
Steps to Modify an Existing User
- Locate the user in the Users table.
- Click on the user to open the Edit User modal.
- Update the necessary fields.
- Click Save to confirm the changes.
Using the User Context Menu
You can also modify users through the context menu (three dots ⋮ next to each user entry). Available actions include:
- Edit user details
- Deactivate the user
- Delete the user
Constraints
- The Username (Email) must be a valid email address.
- A default authentication method is automatically assigned using the provided email (username).
- Available Roles in the dropdown correspond to the system’s predefined role settings, ensuring correct permissions for each user.
By using the Users tab, you can efficiently manage customer users, assign roles, and ensure secure access control within the platform.