Creating groups
Use customer groups to structure pricing for multiple customers at once. This page walks you through creating a group and defining its basic properties.
Create a new group
- Go to Customers → Groups.
- Click + Add group.
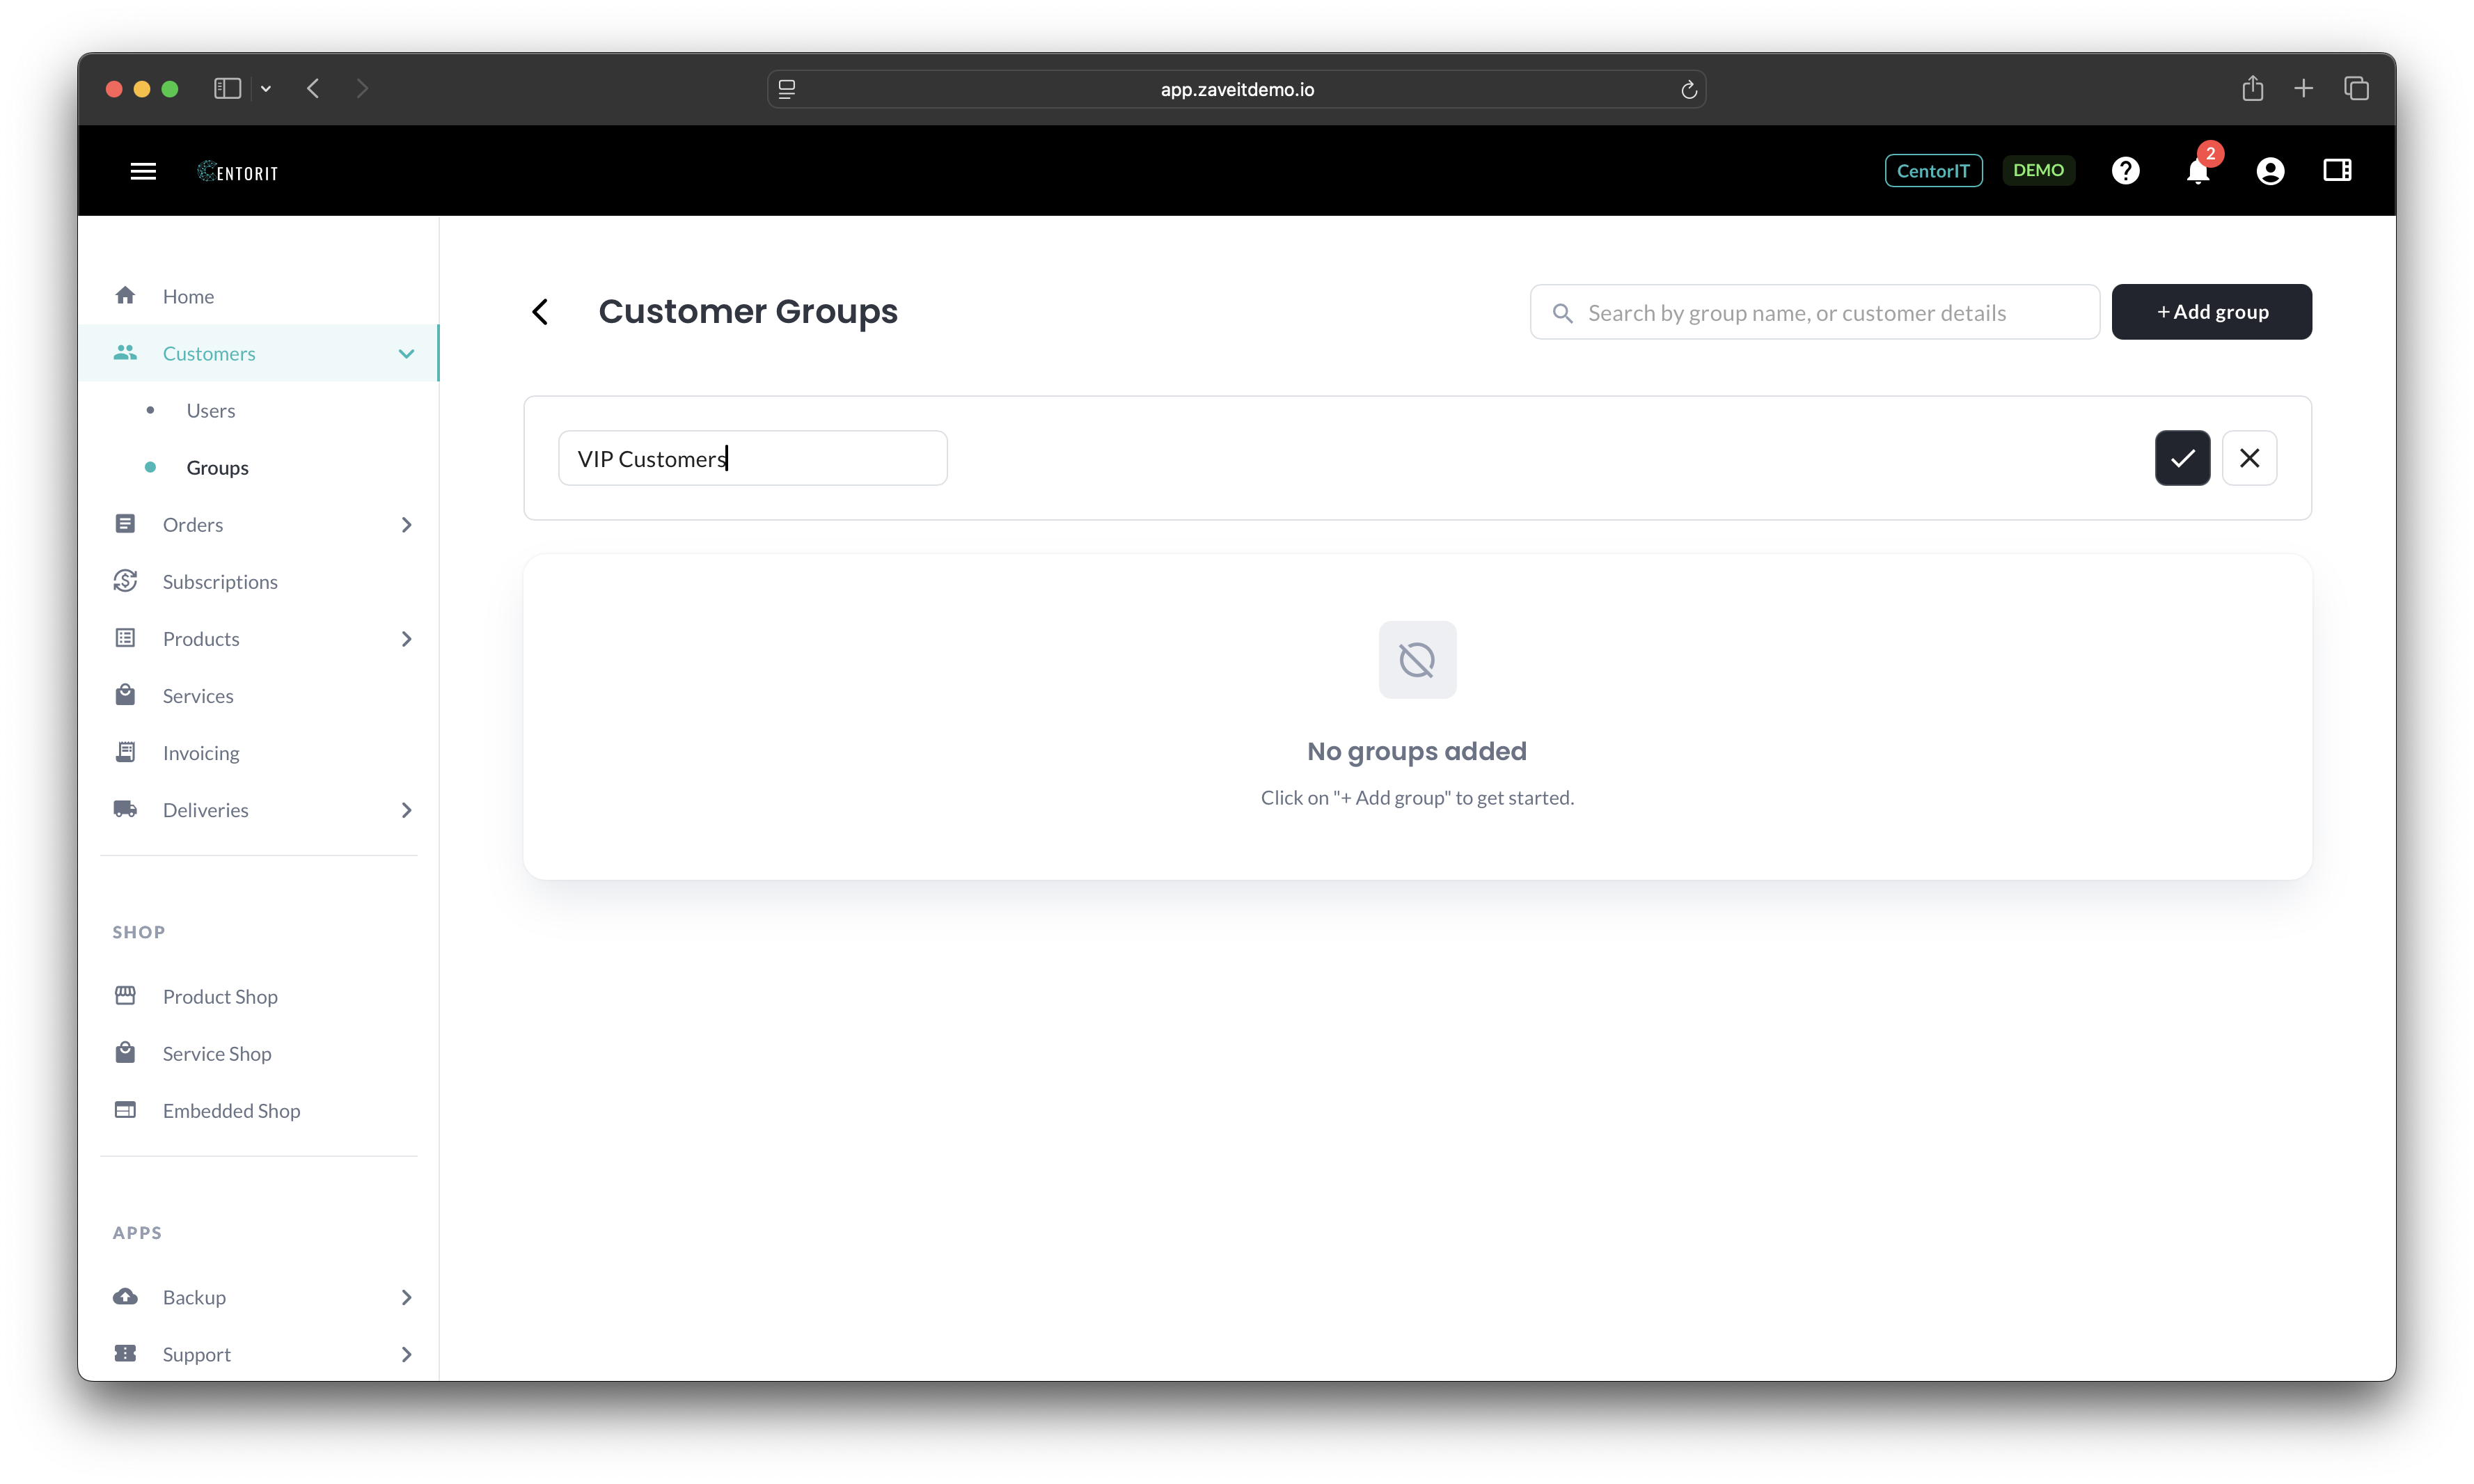
- Fill in the fields:
- Name – A clear, recognizable label (e.g., "Gold Partners", "Nordics").
- Click ✔ (symbol), to add the group.
The group appears in the list, ready for membership configuration.
Group details
After creating a group, open it to access:
- Overview – Name and quick stats for membership and usage.
- Members – Add or remove customers.
Continue to Managing Members to assign customers to the group.