Automation
Automation allows you to set up predefined actions triggered by specific events. You can configure automations to send platform notifications, emails, or HTTP requests based on selected triggers.
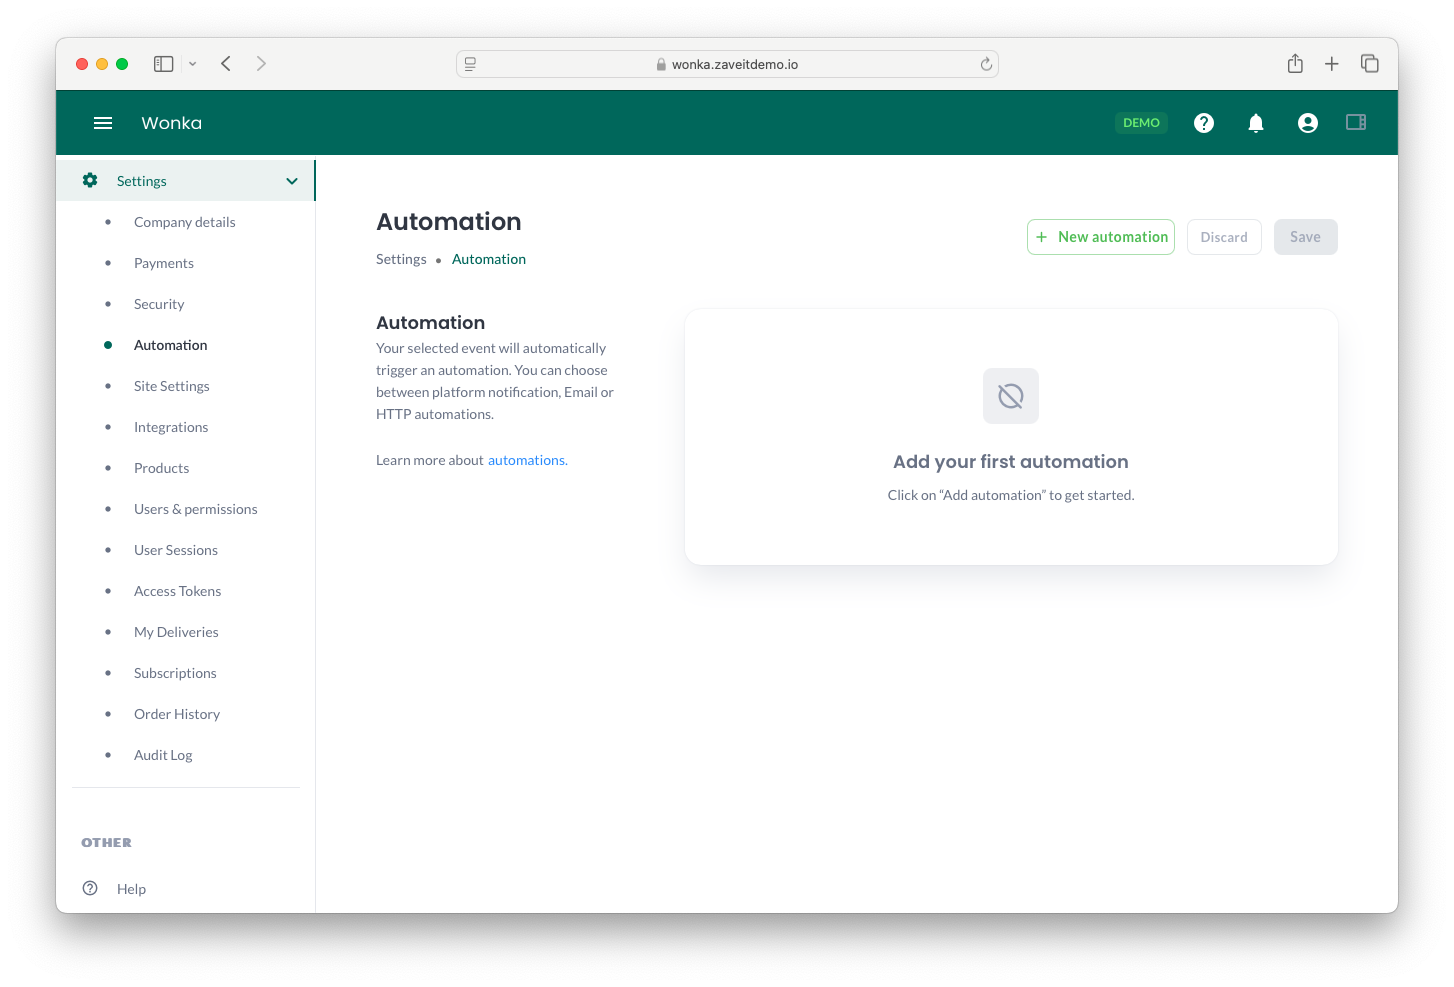
Creating an Automation
To create an automation:
- Navigate to Settings > Automation.
- Click on New automation.
- Fill in the required details in the automation form.
Automation Configuration
When setting up an automation, you need to define:
- Title: A descriptive name for your automation.
- Category: Select the category that the automation belongs to.
- Event: Choose the event that will trigger the automation.
- Type: Select the type of automation (Email, Push, or HTTP).
- Active: Toggle whether the automation is active.
Automation Types
Email Automation
- Sends an email notification to specified recipients when the event is triggered.
Push Notification Automation
- Displays a notification in the notification bell inside the system when the event occurs.
HTTP Automation
- Sends an HTTP request to the specified URL with optional headers when the event occurs.