Integrations
Integrations allow you to connect external services and platforms to streamline workflows and automate processes. You can add new integrations, manage existing ones, and configure settings based on your business needs.
Adding a New Integration
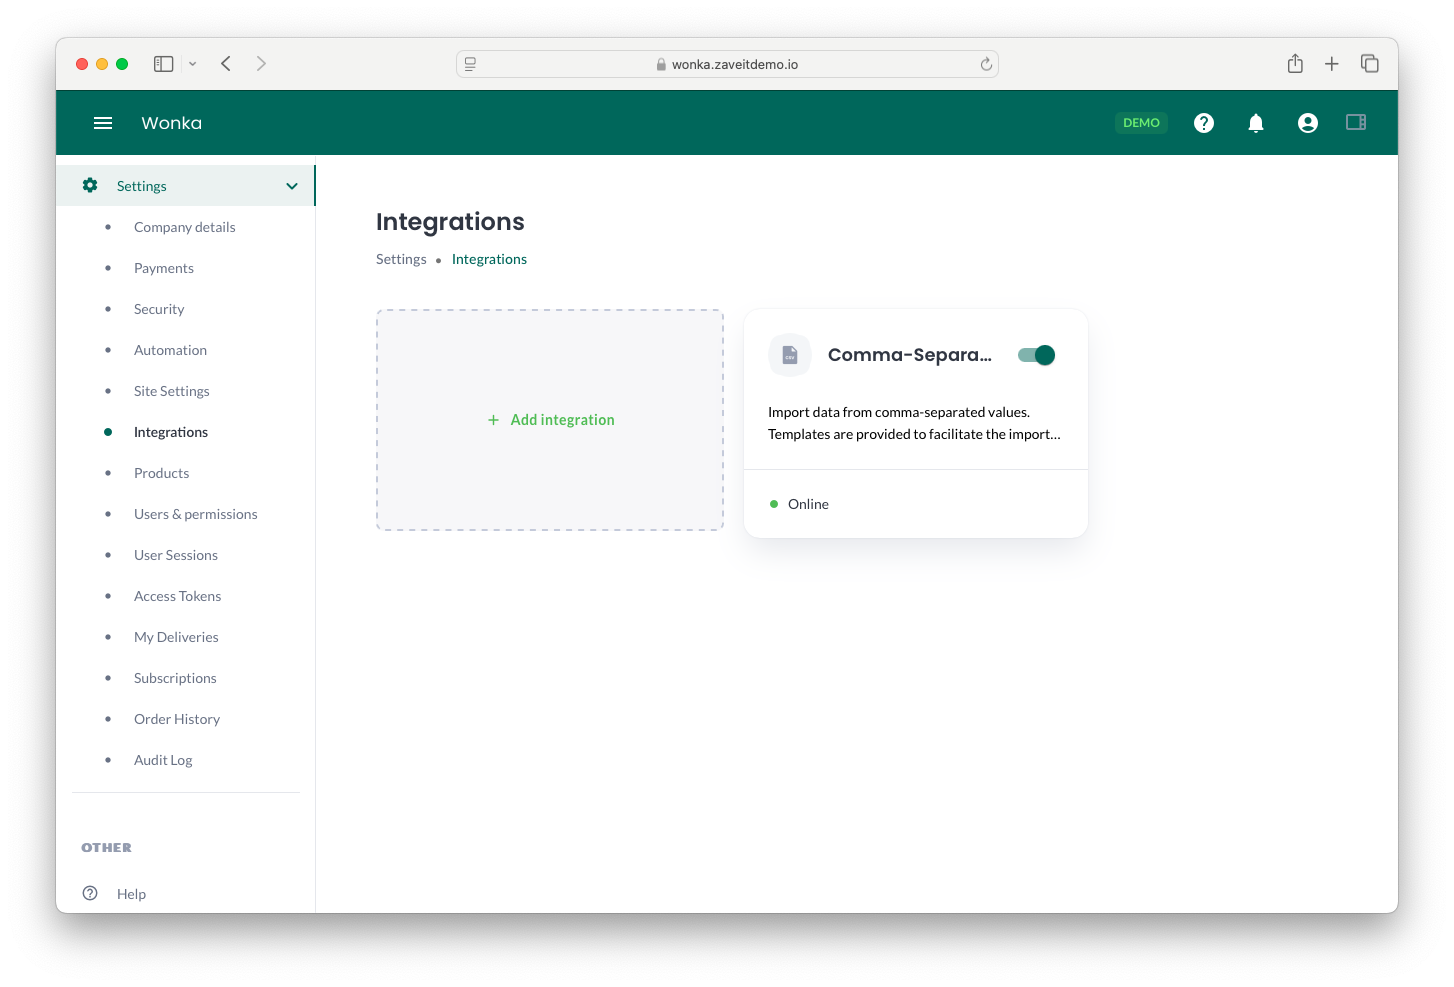
To add a new integration:
- Navigate to Settings > Integrations.
- Click on Add integration.
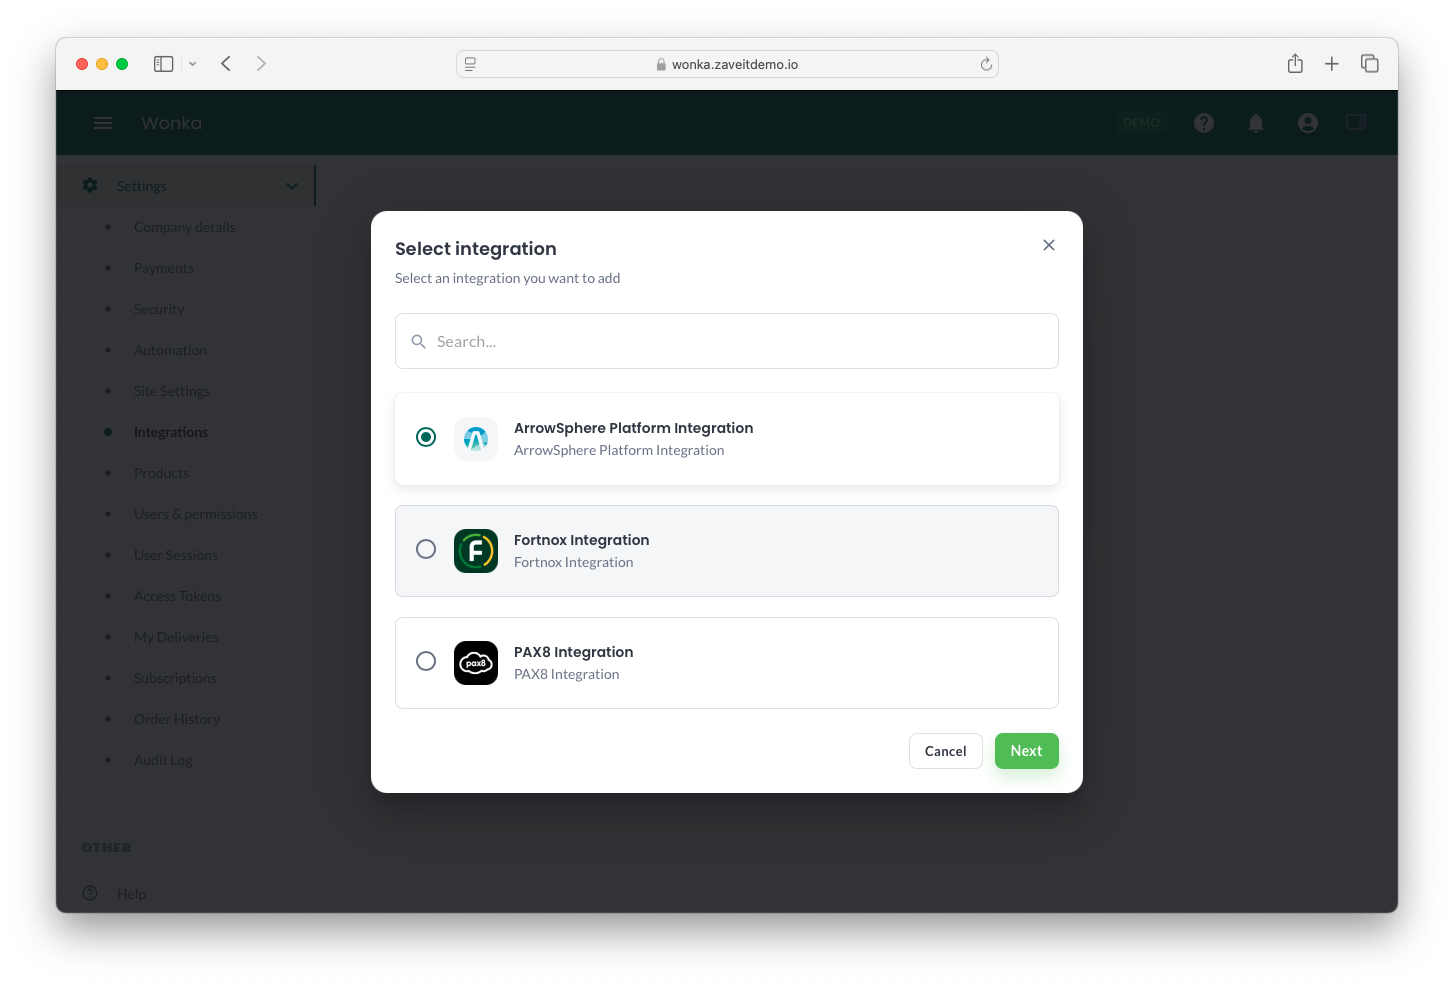
- A pop-up window will appear where you can select an integration from the available options.
- Use the search bar to find the integration you need.
- Select the desired integration and click Next.
Configuring an Integration
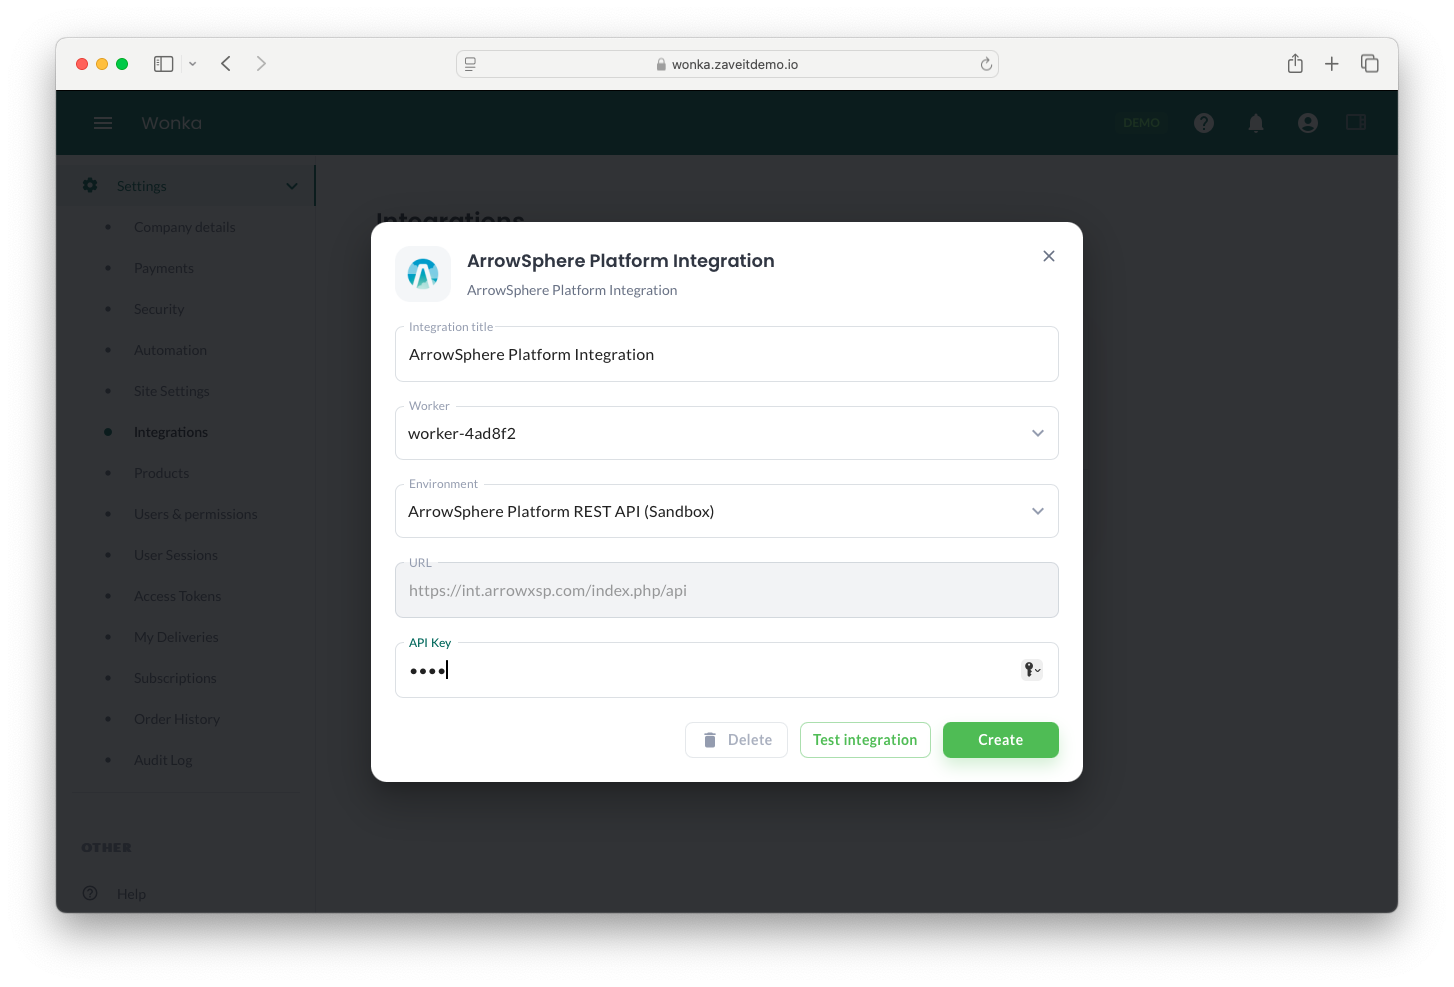
Once you select an integration, you will be prompted to enter configuration details.
-
Fill in the necessary details such as:
- Integration Title – Give a recognizable name to your integration.
- Worker – Select an available worker if applicable.
- Environment – Choose the environment (e.g., Sandbox or Production).
- URL – The endpoint URL for the integration.
- API Key – Enter the API key provided by the service.
-
Click Test Integration to verify connectivity.
-
If the test is successful, click Create to finalize the integration setup.
Dynamic Integration Requirements
The information required for each integration is dynamic and will vary depending on the selected integration. Some integrations may require additional parameters, while others might involve complex authentication processes.
More commonly, integrations require OAuth or OpenID authentication. In such cases, you will be redirected to a login pop-up where you must authenticate using your credentials for the given application. After successful authentication, the integration will be configured automatically with the necessary permissions.